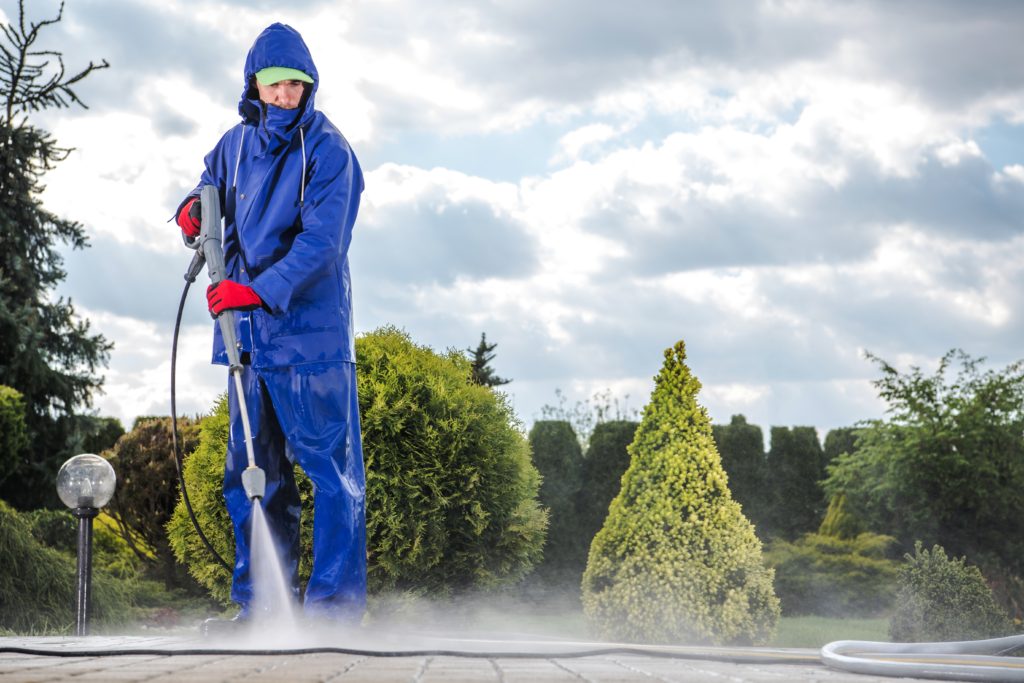
Pressure washers are great pieces of cleaning equipment. Their compact size, high water pressure, and versatille attachments have made them popular choices for a lot of cleaning projects.
But when winter rolls around, you may not want to clean with water. You might end up creating a layer of ice, and that’s no fun for anyone! So when the cold months come back, you may find that you need to prepare your pressure washer for winter.
Winterizing this item will help it stay in good condition and save you money on repairs or replacements. The two main types of pressure washers are gas-powered and electric. Below is a step-by-step guide for how to winterize both kinds of pressure washer, as well as some storage tips.
Gas Pressure Washer
Gas pressure washers are common and they require different care during cold weather. Because they run on liquid gasoline, they’re more likely to be damaged during the winter. That fuel wasn’t designed to freeze and thaw, and it can damage the interior mechanisms.
In order to maintain your gas pressure washer, there are a few steps you need to take.
1. Prepare Your Pressure Washer For Maintenance
Many pressure washers have valves where you can add fuel, lubricants, and other liquids. This enables owners to perform a certain level of maintenance. However, some pressure washers (particularly cheaper varieties) may have sealed pumps that are inaccessible without special tools.
Check your owner’s manual for more information about how your model works. If there is an easy-access drain or plug, then you’re probably good to do most of this work yourself. If not, consider calling the manufacturer or taking it in to a maintenance shop.
When you’re ready to start winterizing your pressure washer, turn off the water supply to the unit and disconnect it. You should also detach the drain hose and sprayer from the main unit (if possible).
2. Add A Fuel Stabilizer
Fuel stabilizers prevent the gas from drying out and it eliminates clogs and blockages. These usually comes in a liquid form that you can pour directly into the fuel tank and mix around. A couple examples of fuel stabilizers include pressure washer pump-saving oil and RV antifreeze. You won’t have to deal with sticky residue if the fuel has been properly stored.
If you’re looking for a good fuel stabilizer, the STA-BIL line of products could be a good place to begin your search. They have been highly rated by customers and they offer a variety of different types, including stabilizers for pressure washers. Check out the STA-BIL Pump Protector or the STA-BIL 360 Protection Ethanol Treatment And Fuel Stabilizer.
Once the stabilizer has been added, close the fuel tank and run the engine for 2-3 minutes. This helps the stabilizer to fully mix and circulate. Shut down the engine when you’re done running it.

3. Flush Out Interior With Water
Once your fuel situation has been dealt with, it’s time to clean out the rest of the unit. If water, detergent, or other dissolved materials sit inside the pressure washer during the winter, it can cause rust and damage to the unit.
In order to properly winterize your pressure washer, it needs to be properly cleaned. To drain the detergent, place the injection tube into a bucket or sink full of clean tap water. You should also connect your garden hose to the pressure washer’s water intake.
Turn on the pressure washer and run it on low pressure for a few minutes. Pull the trigger on your cleaning wand to flush the detergent from it as well. This process will help drain the detergent from the unit and flush out any buildup.
When you’re finished, turn off the hose and the pressure washer. Detach the hose and dry the ports as thoroughly as you can.
4. Drain The Water And Dry
The next thing you need to do is drain any residual water from the pressure washer. Disconnect the sprayer gun and hold the trigger down until all the remaining water has drained. Lock the trigger in place (if it has that function) and set aside.
Remove the high pressure hose from the main unit and hang it up so that it can properly drain. Wipe out as much as possible with a rag, then coil and store it. If there is any remaining water inside the pressure washer itself, pull the recoil handle 4-6 times and wipe down as much as you can reach.
5. Add Oil And Store The Pressure Washer
At this point, your washer should be clean, empty of water, and full of winterized fuel. You’re just about done, but there are a few more things you can do to keep it in good condition over the winter.
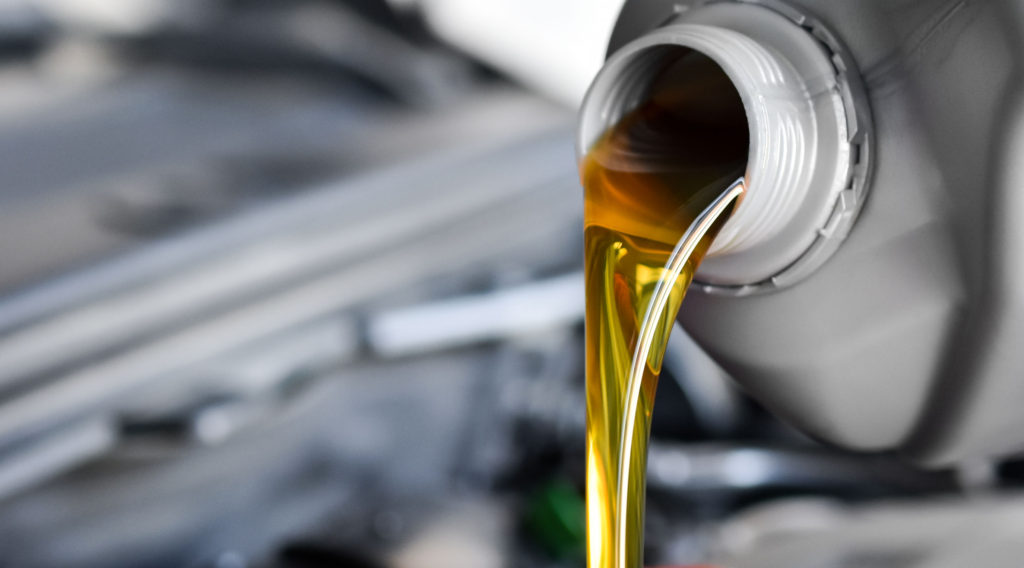
First of all, consider doing an oil change if you haven’t done it in a while. This is a good time to make sure everything is lubricated and ready for the new year. Pour some oil into the spark plug hole and consider replacing the spark plug itself.
Finally, you just need to keep your pressure washer in a cool, dry, enclosed space. A garage, basement, or cellar usually work quite well for this purpose.
Electric Pressure Washer
Electric pressure washers have some similar cleaning steps to gas washers because they both need to be drained, cleaned, and dried to prevent any corrosion or frost damage.
However, gas-powered pressure washers are more prone to damage during the winter because of their liquid fuel. Electric pressure washers can still be damaged by cold weather though. It’s important to properly winterize both types so that they have a long product life.
1. Prepare the Unit for Cleaning and Maintenance
Just like pressure washers that run on gas, there are a variety of electric designs. Not every unit is made for at-home maintenance, so it’s important to check what you can and can’t do before you get to work. Consult the product manual, which may contain additional tips about winter storage.
2. Flush Out Old Water And Detergent

This step is quite similar to the one listed in the gas pressure washer section. Water that freezes and thaws can cause damage in the pressure washer and might even break it permanently.
Ice expands, while the metal doesn’t. This can definitely cause some problems, so it’s important to clean the inside and flush out as much water as possible.
To start the draining process, place the injection tube in a bucket or sink full of clean water. After that, connect your garden hose to the pressure washer’s water intake.
Turn on the pressure washer and run it on the lowest setting for a few minutes. Use the trigger on your cleaning wand to clean the interior and flush the detergent from it as well.
When you’re finished, turn off the hose and the pressure washer. Detach the hose and dry the entry ports as thoroughly as you can. Gently rock the unit back and forth to let any remaining water spill out.
3. Remove And Clean Detergent Tank
Once the rest of the unit has been properly flushed, you may want to give some special attention to the detergent tank. It’s probably mostly clean by this point, but you don’t want to take any chances. Standing water could be left in the bottom as well, which is dangerous in its own right.
If your unit has a removable detergent tank, you should detach it and clean it with lukewarm water. This step will help prevent any scaling, hard-water buildup, or other deposits that may form from old detergent.
Dry it thoroughly and place it back into the pressure washer.
4. Disassemble The Washer And Dry Pieces
One of the last things you need to do is drain any residual water from the pressure washer. Disconnect the sprayer gun and hold the trigger down until all the remaining water has drained. Gently shake it a few times and tilt it to remove as much water as possible.
Lock the trigger in place (if it has that function) and set it aside.
Remove the hose from the pressure washer and hang it up with the open ends facing downward. This position will allow it to properly drain. Dry the ends as much as possible with a rag, then coil and store the hose.
5. Add Pump Saver To The Unit
Unlike gas pressure washer, electric units don’t need a store of liquid fuel to run. However, they can still be damaged by fluctuating temperatures and it’s a good idea to use a pump saver fluid to the washer. The inner seals can crack or weaken due to cold weather and dry conditions.
Apply your pump saver of choice to the water inlet. Add more and more until you start to see some of the pump saver begin to leak through the pump outlet valve.
Cover the unit with a pressure washer cover or another protective layer. Store in a cool, dry place for the rest of the winter.
Why You Should Winterize Your Pressure Washer

In the sections above, we’ve touched on a few of the reasons why winterization is important. But it can be a little time consuming and tiring to thoroughly clean, dry, and drain all the parts of the pressure washer. You might be tempted to skip these steps, but there are more risks than you might expect!
Follow The Warranty
A lot of pressure washers come with product warranties. These protect the quality of your unit and they can help pay for any damages that occur in the first few years of natural use. Some of them might even cover the cost of repairs and provide avenues for service calls. However, some warranties may be voided if you don’t properly winterize your gear.
Warranties only cover some damages, and if there was a preventable issue that you didn’t address, you will be held accountable for whatever happens. Warranties are a level of protection that is useful for pressure washers, which are often fairly expensive. Protect your investment by taking care of your washer during cold weather!
Read up on the warranty policy of your pressure washer and do all that you can to stay within the limits of that agreement.
Prevent Freezing Damage
One of the major issues that winterization addresses is exposure to freezing temperatures. Pressure washers run on liquid and often have residual moisture inside. If this freezes, it can weaken the metal structure, damage interior seals, and break some of the mechanisms.
The process of freezing and melting ice causes erosion in nature, so you can imagine what it might do to an intricate piece of machinery. Proper drainage and drying will help you avoid frost damage to the overall structure of the machine.
Protect Against Rust And Degradation
In a similar vein, winterizing your pressure washer also protects it against degradation. Both mechanical and chemical processes can break down the metal and machinery.
Leaving water inside a sealed metal container is a recipe for disaster. It can turn rancid, leave hard water deposits, or oxidize and rust. Gas-powered pressure washers are particularly vulnerable and their fuel can turn stale and useless.
If you don’t clean out your pressure washer before you store it, you’ll be left with a bigger (and grosser) job in the future. Invest a bit of time and energy into the cleaning now so you won’t have to regret it later.
Avoid Expensive Repairs And Replacements
Finally, winterizing your pressure washer is a good investment. Pressure washers are often fairly expensive, especially if you have a unit with features such as heated water or multiple nozzles.
If you don’t take care of it during cold weather, you could end up losing hundreds or thousands of dollars. Repairs can be time consuming, and it might be hard to find a good replacement.
Plus, you won’t be able to tell if the damages were due to the washer’s quality, or a lack of care. It’s hard to feel confident in a product if you’re not sure where the fault lies!
Protect your equipment and put in the necessary work. You’ll be able to enjoy it for a much longer period of time!
